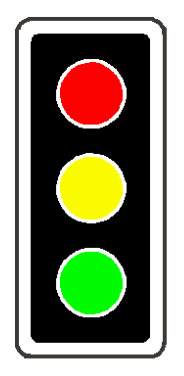
Red, amber and green discs
A steady red disc requires you to stop behind the stop line. Do not turn merely because you cannot see conflicting traffic; wait for a signal or authorised officer that permits your movement.
A steady amber disc requires a stop unless you are already so close to the stop line that stopping safely is not possible. Amber is not an instruction to accelerate. Make the decision in relation to your position, speed, grip and following traffic while maintaining control.
A steady green disc permits proceeding only when safe. Give way to pedestrians and traffic still lawfully clearing the junction, and yield to conflicting traffic when turning as required. Do not enter a blocked junction just because the light is green.
- Apply the light that controls your lane and movement. A green shown to a neighbouring turn lane is not your permission to move.
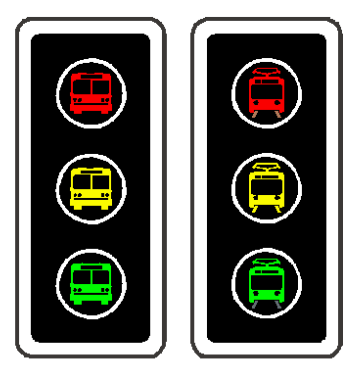
- These illustrations show the positions and colours on a signal face; all displayed lenses in an explanatory diagram are not lit simultaneously in normal operation.
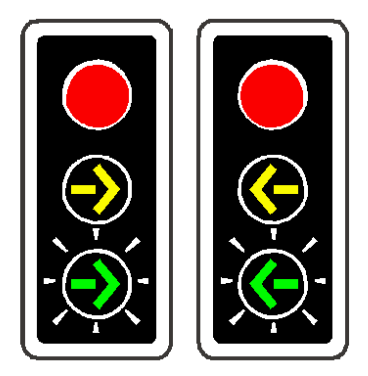
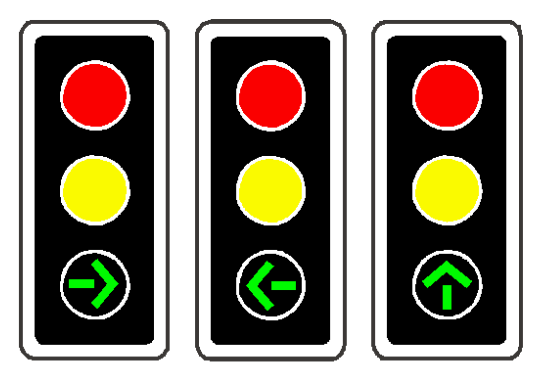
Steady and flashing arrows are different
A steady amber arrow requires a stop for the indicated movement unless you are already too close to stop safely. The older learner-manual sentence omits this exception; the amended Schedule 1 supplies it. Do not convert the exception into a general right to continue on amber.
A steady green arrow permits movement only in its indicated direction, subject to the required yielding and safety checks. A flashing green arrow gives priority to movement in the indicated direction. Even with that priority, check that conflicting traffic has stopped and that the path and exit are clear.
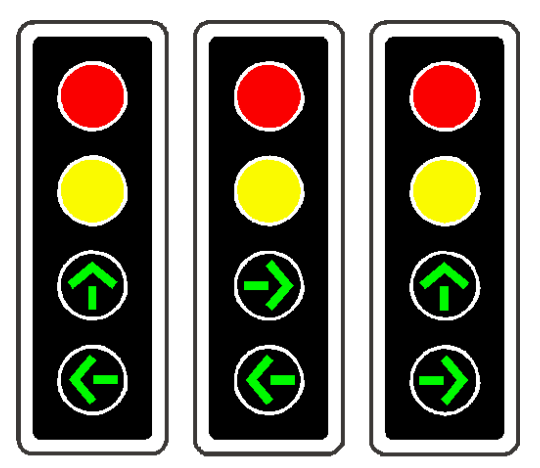
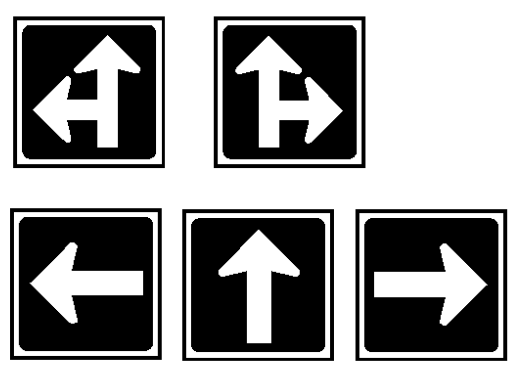
Combined signal faces can permit more than one indicated direction. Follow only a permitted direction available from your lane. Black-and-white ST direction plates identify the movement controlled by the associated signal; read the plate with the light rather than borrowing a light from another movement.
Bus and tram signal faces use the relevant vehicle symbol. A permission displayed for that public-transport movement does not release ordinary traffic waiting on its own red signal.
Flashing red and a failed junction
At an ordinary road intersection a flashing red signal requires a stop and then a safe departure under the stop control. At a railway crossing, flashing red warns of an approaching train: remain stopped and do not proceed until the flashing has ceased and it is safe. Do not apply the road-junction stop-and-go interpretation to railway warning lights.
When no signal is illuminated on your approach, stop and act as at a three- or four-way stop. A fully non-functional junction is treated as an all-way stop. Do not assume another approach has also stopped: check every conflicting movement and proceed only when safe. An authorised officer may instead control movements; follow that direction.
Crossing phases are for the person using the crossing
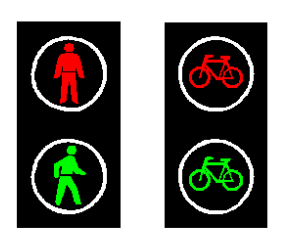
A steady red pedestrian figure means do not begin crossing. A flashing red pedestrian figure means people who have not entered must wait; people already crossing must complete the crossing promptly. Do not start because you expect to finish before the flash ends.
A green pedestrian figure permits pedestrians to cross within the controlled crossing while remaining alert for turning vehicles. Drivers must yield as required and must not use their own green as an excuse to drive through pedestrians.
A bicycle signal applies to the cycle movement shown. Distinguish it from a pedestrian figure and from the signal for general motor traffic; use the designated crossing or lane rather than assuming every green releases every road user.
Two historical indications are not current instructions
The 2012 learner manual reproduces a flashing red left arrow and a flashing amber disc. The 2003 amendment required the flashing red left arrow to cease being displayed after 31 December 2010; the same end date applies to the flashing amber disc. They are therefore identified here as historical source content, not taught as active South African instructions.
The SADC manual also illustrates alternative-system signal faces used elsewhere in the region. Their presence in a regional diagram is not proof that they are current South African signal faces. The lesson images deliberately select the relevant standard faces rather than presenting the entire regional chart without qualification.